My colleagues and I started developing the module called “DYCE Subscription & Recurring Billing” in mid-2020, based on Singhammer‘s expertise in this area. We were a team of two developers and two consultants backed up with the circle of few more people that were brainstorming the concepts. Later on, we got some reinforcement and on operative level 6 people were engaged in development in the product team but also, we included our project teams in development.
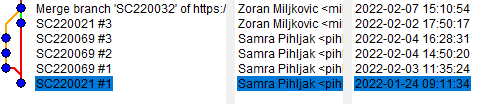
I unearthed the first few commits—just to show off a little.

Then in 2022 the development of another module called “DYCE Usage Based Billing” started.
In 2023, the “Contracts” module and “Usage Based Billing” module, as we called it in the beginning, caught Microsoft’s attention as it seemed to be the “missing link”.
In August 2024, Microsoft officially announced the integration of two Singhammers apps called “DYCE Subscription & Recurring Billing” and “DYCE Usage Based Billing” within Dynamics 365 Business Central 2024 Wave 2. There is now a documentation available online about how to use the new module on this Link. There is also a great video from the Launch Event about the feature on Youtube.
I would like to address a concern that arose few times on social networks. It is worth noting that this module is available for use for every Business Central customer with no additional cost to the current subscription costs. It also contains no dependencies on third party services.
My goal with this article is to provide a condensed explanation of the key entities that this module focuses on so that the people can jump on it easier. First of all, in order to start experimenting with the module I would suggest switching to the appropriate Role Center:

In a Role Center jumping to service commitment packages would be the first logical step.

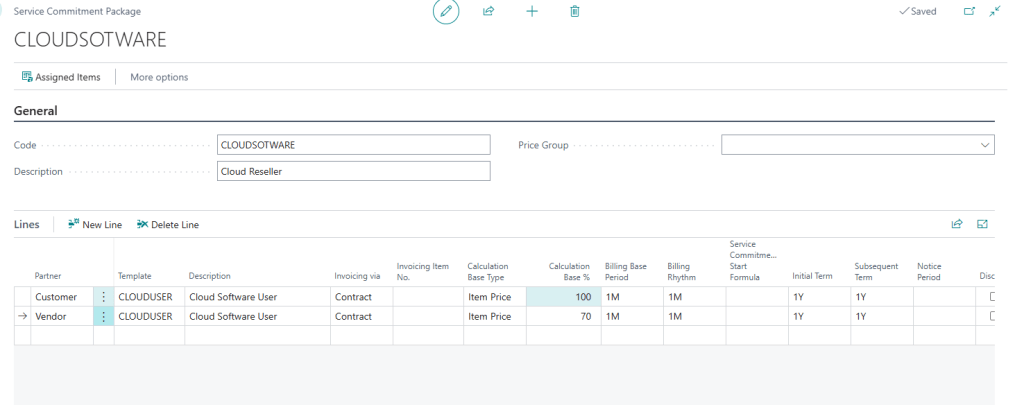
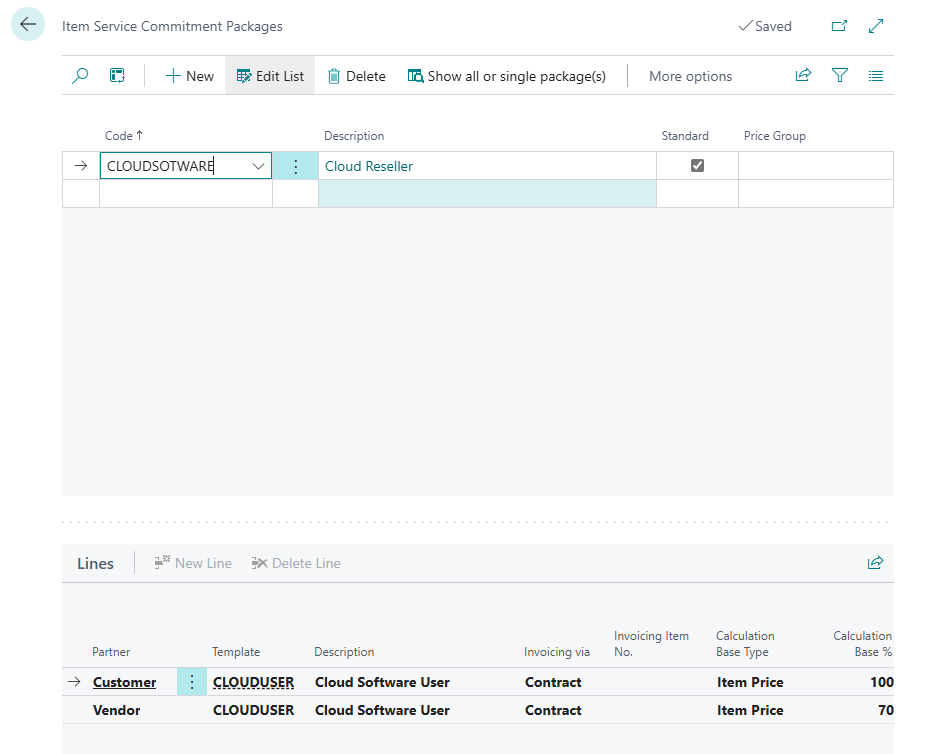
The “CLOUDSOFTWARE” package is one way to do create a service commitment package with an example of reselling the cloud user licences, thus having to pay to the Vendor 70% of the Selling Price. The package that we just created has to be assigned to an Item that is marked as “Service Commitment Item”. “Service Commitment Item” means that we are selling monthly subscription only. The other common option is an Item marked as “Sales with Service Commitments”. An example of such Item would be a Server that has a one-time price but also periodic maintenance in form of subscription. For the moment let’s stick to “Service Commitment Item”. Only a Non-Inventory Item can be marked as “Service Commitment Item”:
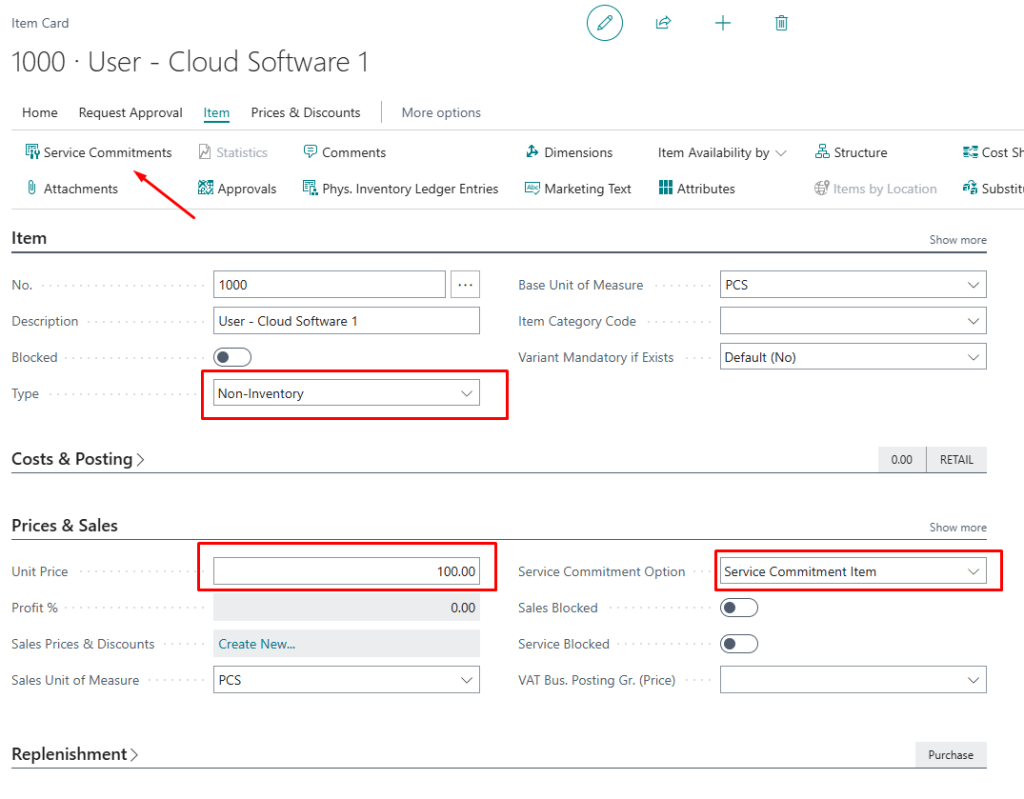
In order to assign previously created Service Commitment Package to an Item, the action “Service Commitments” on an Item Card should be called. The assignment of a package to an Item should be an easy task:
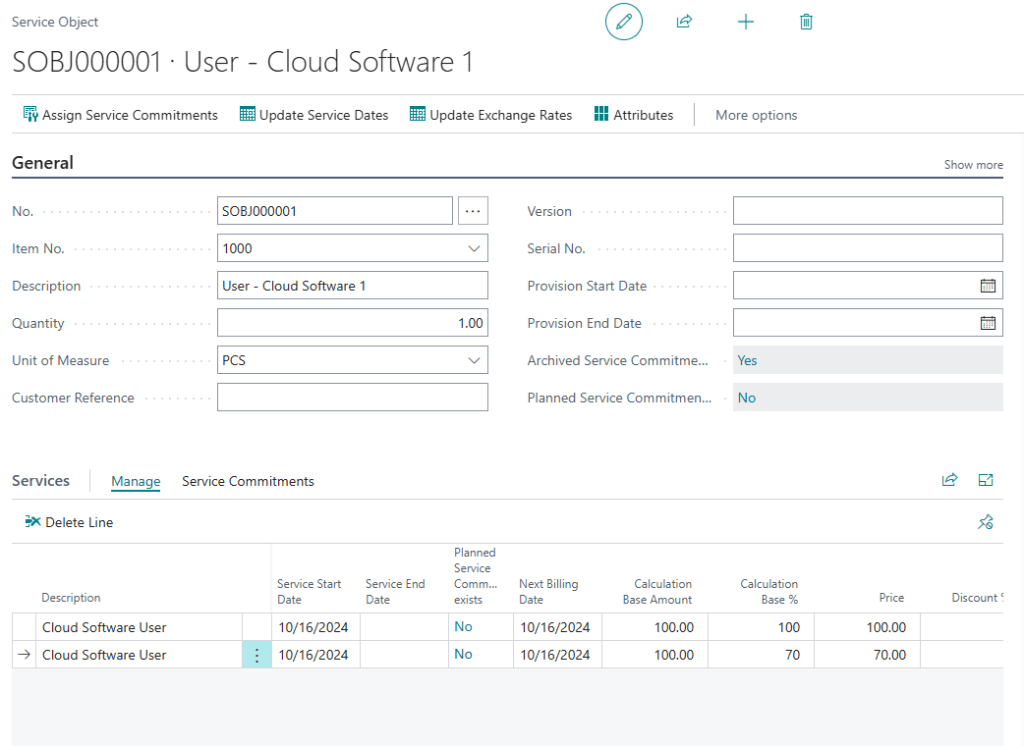
Now, we have the prerequires for creation of the main entity in the module and that is a Service Object. A Service Object can be created by selling the Item we previously created through a sales document but for simplicity’s sake we can create a new Service Object manually from the Service Object list.

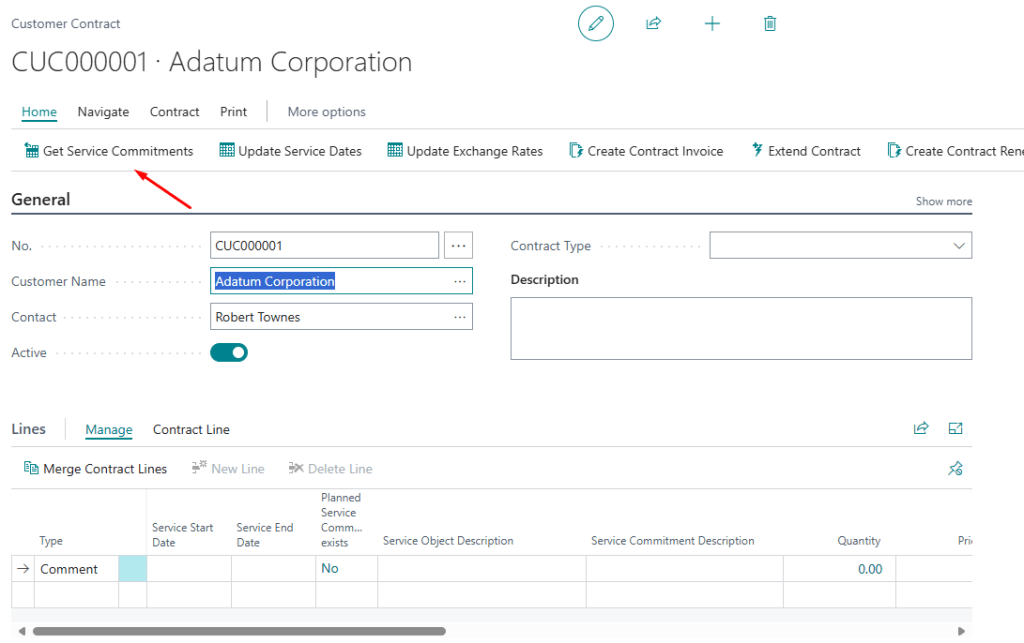
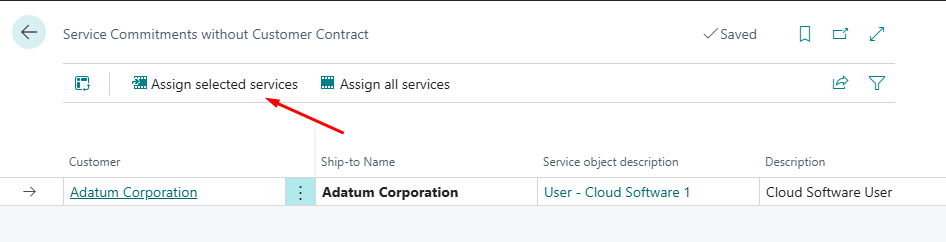
The Service Object should find its way to the Contract. I would say that a Contract is a Placeholder for Service Objects that is used as a base for invoicing.

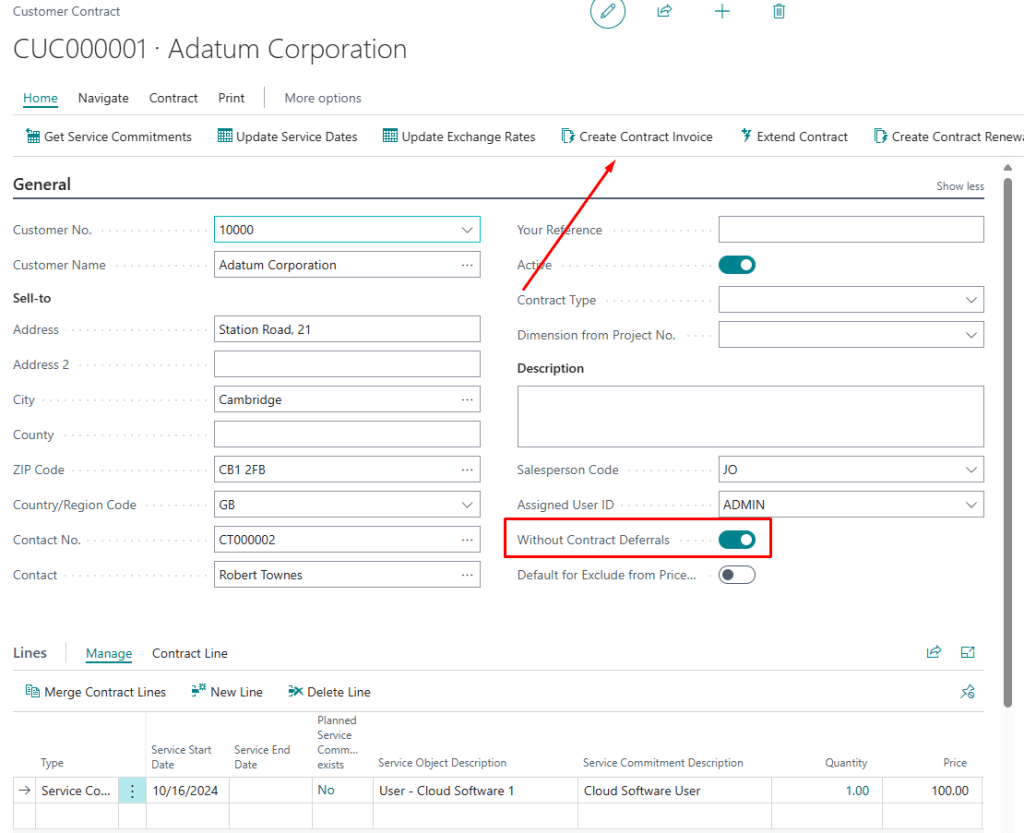
The option “Detail Overview” on the Contract Card should be set at this point of time in order to tell the printout of the sales invoice, the one that is about to be created, that it should also print contract details.

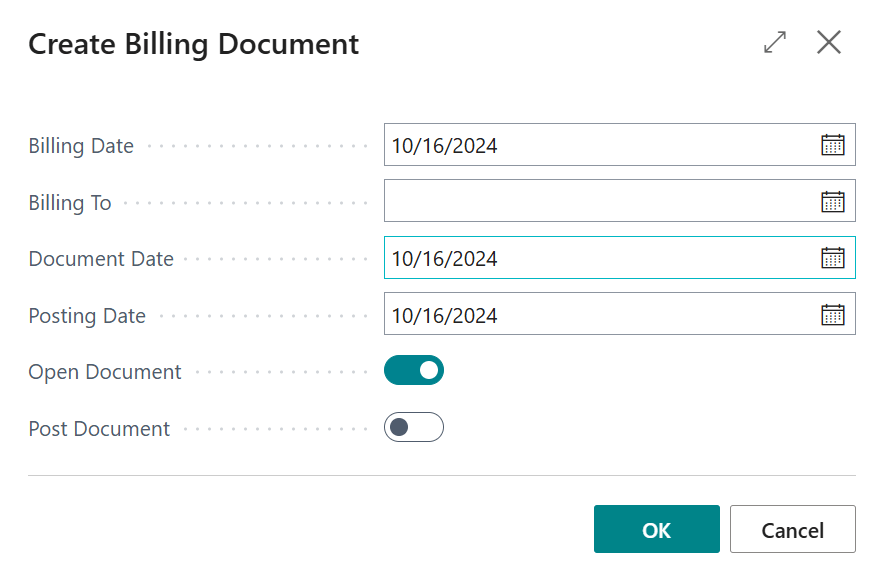
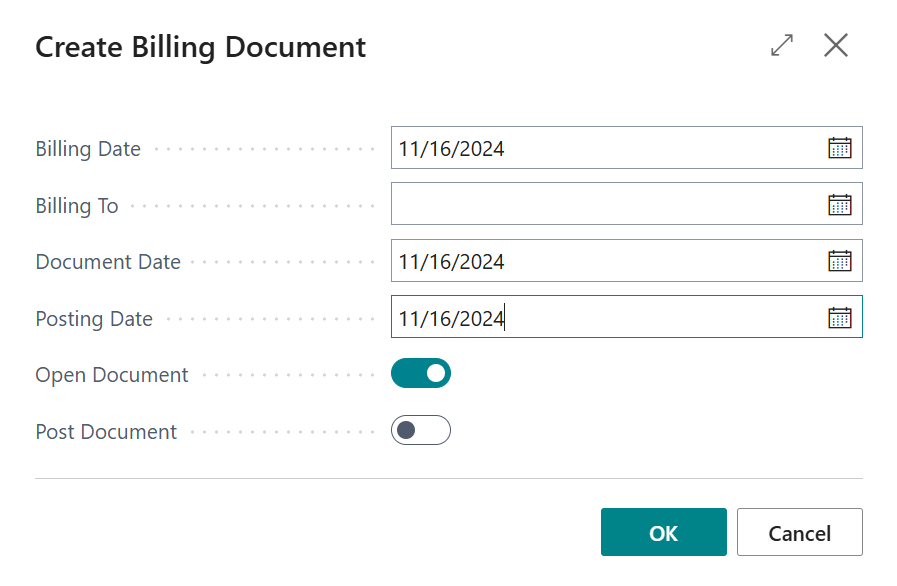
Let’s post our first invoice. For simplicity’s sake I have set the option “Without Contract Deferrals” to false. The action to be called is “Create Contract Invoice”. This is a shortcut for creating Contract Invoices for a single Contract. Other more robust possibility is described in the documentation. This possibility provides a way to create invoices for many contracts and subscriptions that may exist. This is normally a job recurring every month and the goal is that many subscriptions can be processed in a single run. Once again for simplicity’s sake let’s call the action “Create Contract Invoice”.
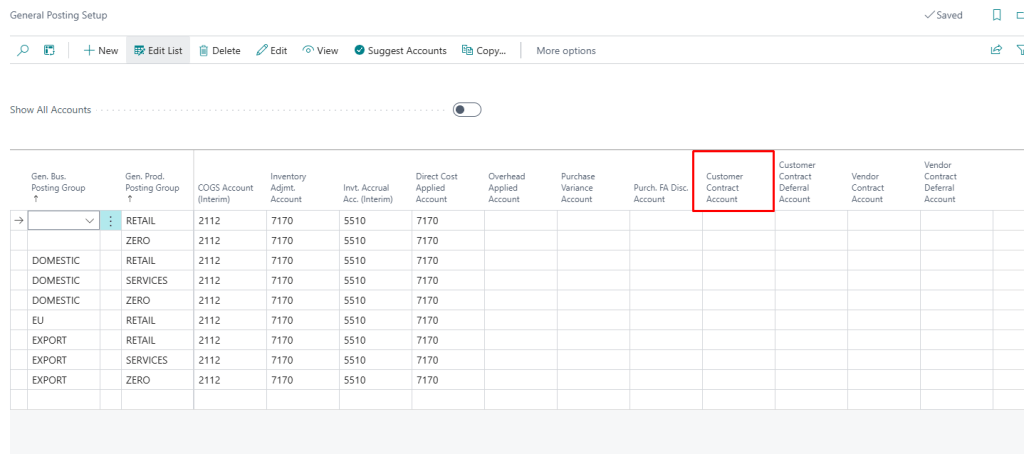
In order to post the Invoice a new field in a General Posting Setup has to be filled.
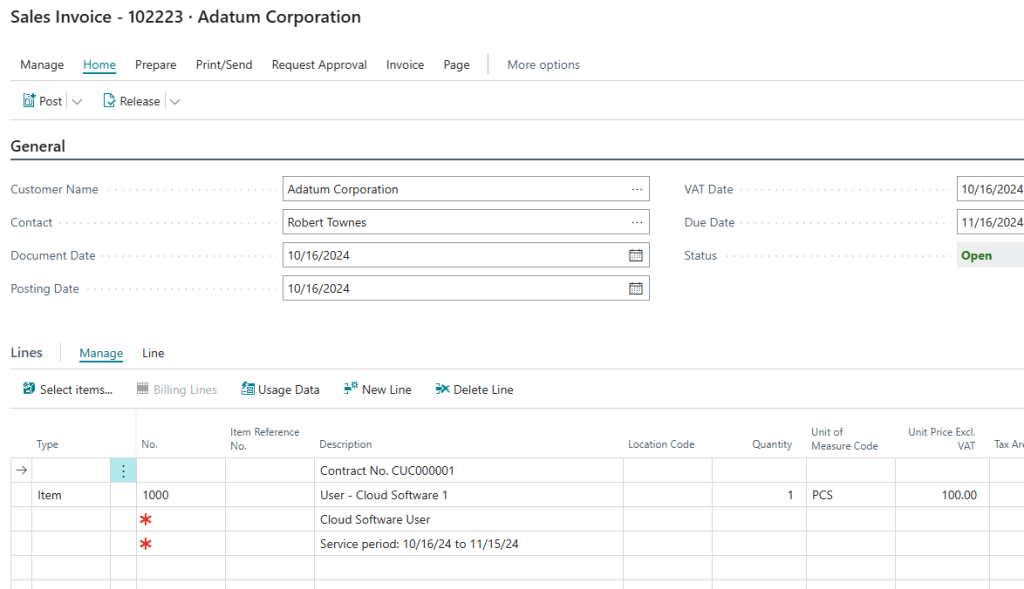
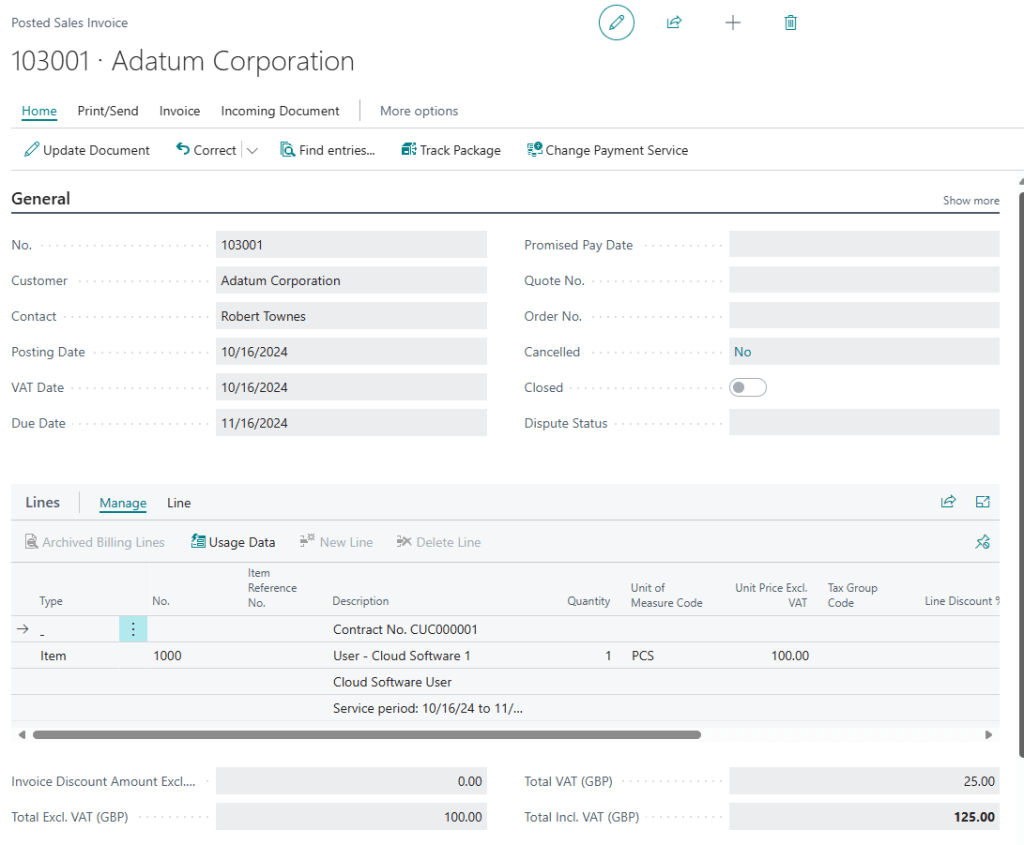
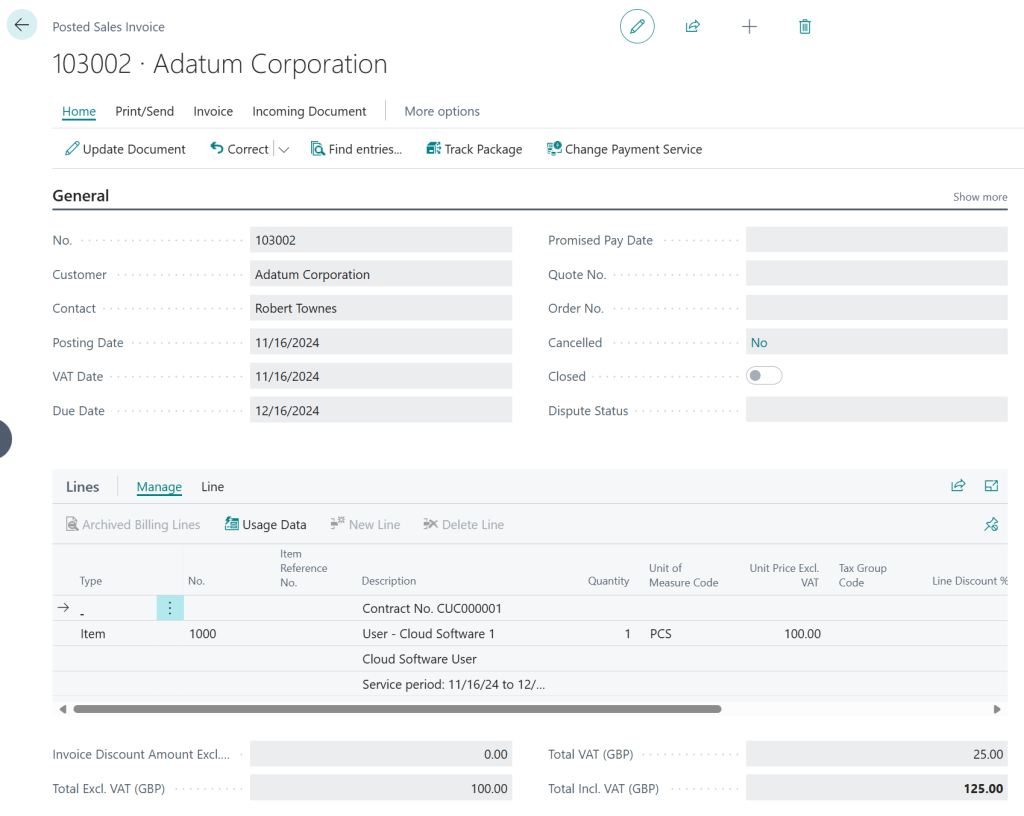
After the sales invoice has been posted, we can inspect it.
Next month, we can create the next invoice:
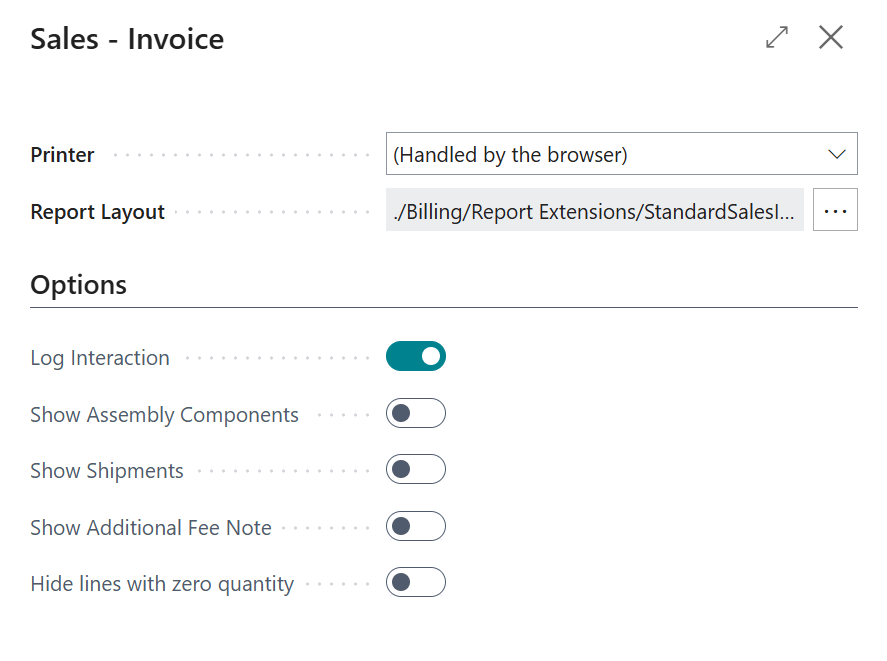
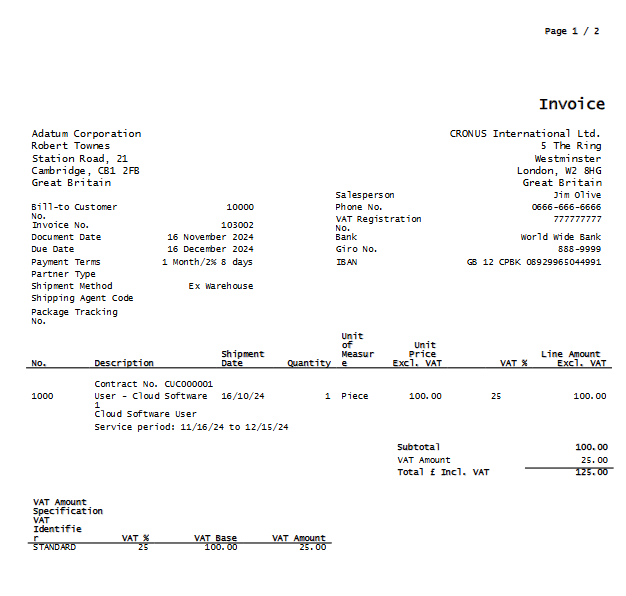
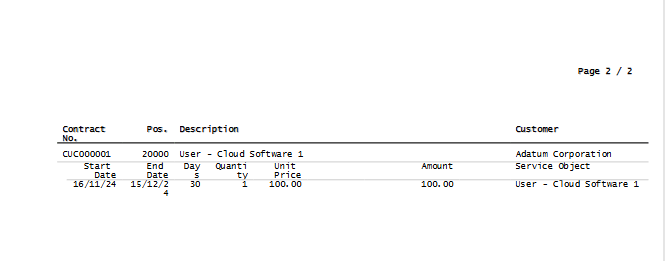
We can also print out the contract details. There is a layout in the “Billing” folder.
And that is the short intro to the process. I hope this condensed content helps a bit with digging in. There will be few sessions about the module on Directions 2024 in Wien. Singhammer will also be available for questions at the 𝗕𝗼𝗼𝘁𝗵 𝗦𝟵.
I am looking forward to questions and feedback as we are still investing our time in improvements together with Microsoft.
